Cleanliness is probably the most important and least sexy part of keeping backyard chickens.
When we started out on this road, one of the biggest complaints I heard was that chickens are dirty and their dirtiness will attract rats. This is partially true: left untended, a chicken coop can easily attract rodents who see the access to their food, water, and bedding as especially alluring. Additionally, chicken droppings are smelly en masse- an important distinction to make, given that the droppings are less odoriferous than dog poo when spread out (say, around your yard). Ben and I set out with cleanliness in mind when designing the coop, and it worked astoundingly well.
Things we considered in design:
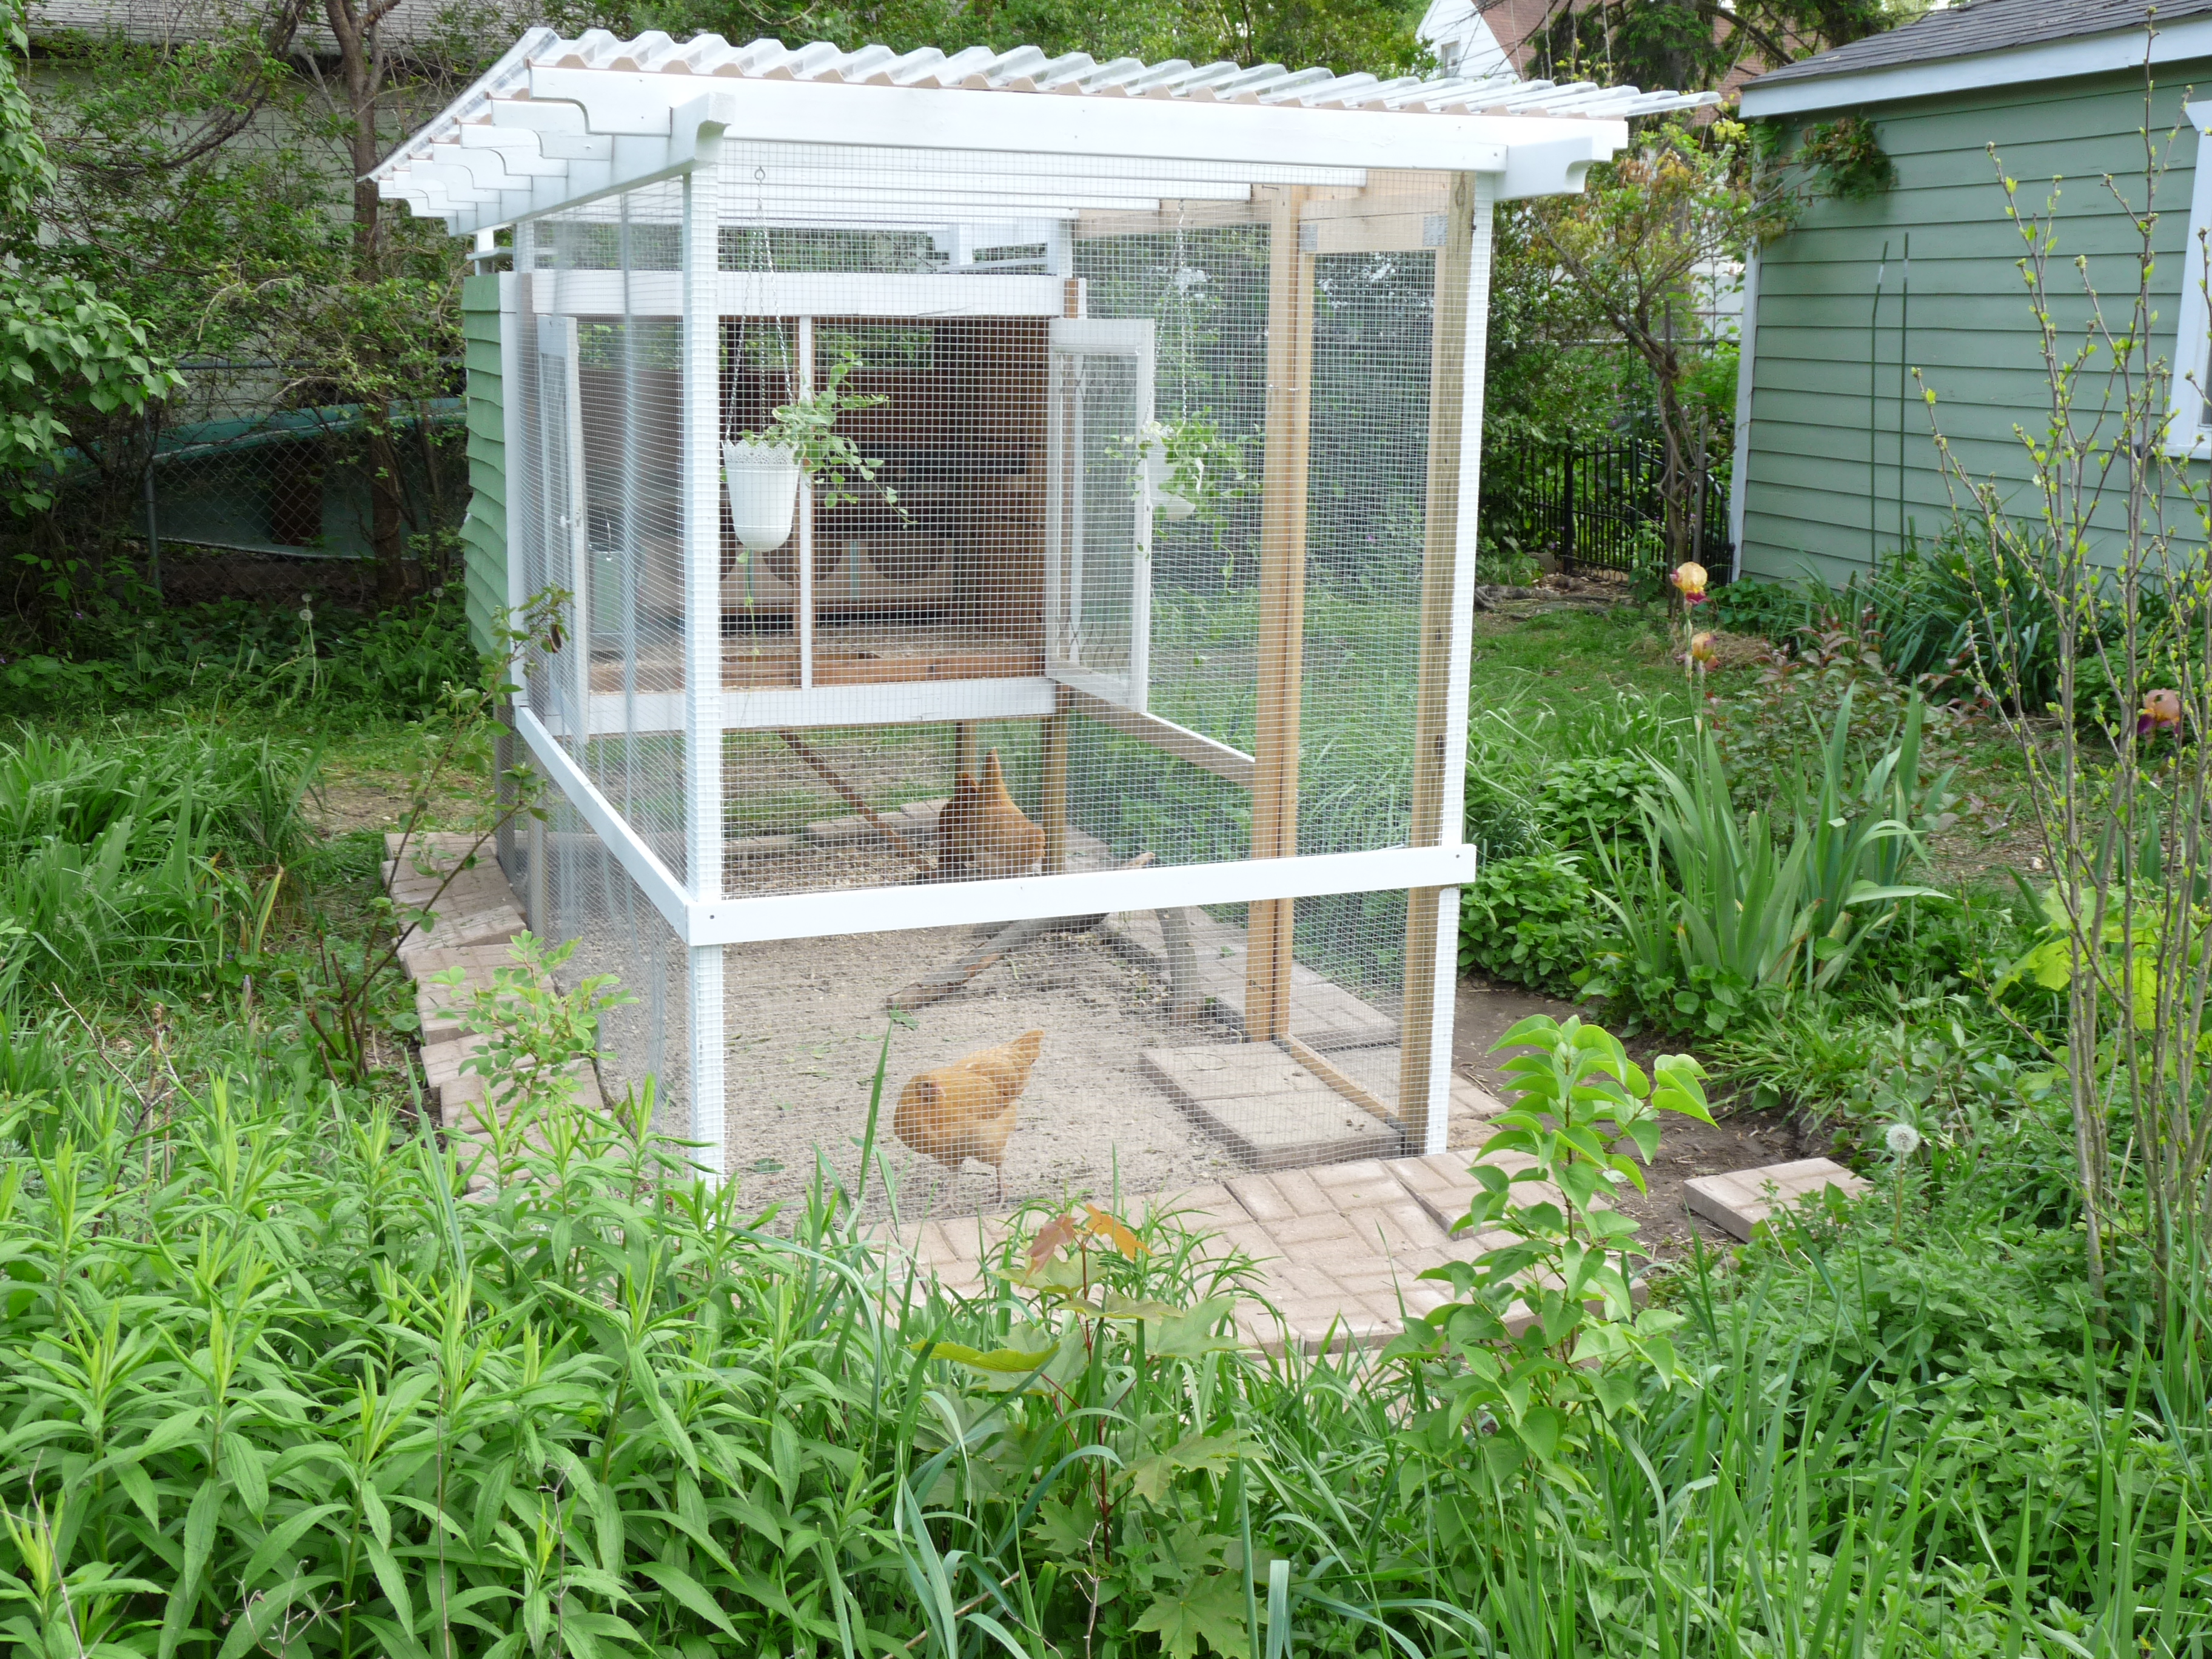
1.) We had to be able to easily pull everything out, including bedding, from a standing position. Most of the coops for sale online were close to the ground, meaning we’d have to hunch over or kneel while pulling dirty bedding out- no fun.
2.) We had to be able to easily clean the run and under the elevated coop. Again, this meant we needed to have something tall enough that I could rake under it, and the run had to be a reasonable height for us to walk around in.
Chicken Coop Cleaning:
By nature, I’m not a clean freak. Not even close. However, I’m a worrier- and my worries lead me to looking into all the gnarly disease and parasites that a dirty coop can harbor. If left uncleaned, chickens can develop respiratory issues very quickly in a coop with poor ventilation and sanitation; basically, they’re breathing the ammonia from the waste, which damages their lungs. Then there’s feather mites, red mites, scaly leg mites, lice- the list goes on and on. The Chicken Chick has a pretty good post on how to identify poultry mites & lice; fingers crossed, we still haven’t had an issue with them yet, which again I attribute to sanitation procedures.
I clean the coop & run at least twice a year, once in the spring and once in the late fall/early winter after the hens have molted (if they molt before real winter sets in!). It gives me a chance to inspect everything in the coop, looking for damage to the structure and protections we have in place. On a daily basis, I rake out the coop, picking up the chicken’s waste and putting it into our composter.
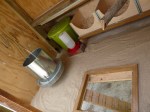
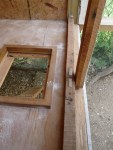
The big clean starts by removing nesting boxes, feed & watering stations. Anything that can some out easily, does.


Steps:
- Remove anything that isn’t nailed down.
- Brush out coop, removing all bedding. Pay attention to corners and crevices to remove debris and dust.
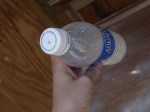
- Use a 1-1 solution of vinegar and water to spray on dried/caked waste and any debris that is lingering. Spray liberally and allow to soak in cases of stuck on dirt/waste.
- Followup with brushing out the coop again, removing remaining waste. Repeat spraying if necessary. When done, allow coop to dry.
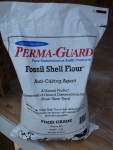
- Use diatomaceous earth, puff it into crevices along the walls, on the roost, and into the nesting boxes. If you’ve never read about how diatomaceous earth can kill bugs, check out this write up on it.
- Add 1/2 to 1 cup of diatomaceous earth to the coop run, spreading it along the surface. Add additional sand/tube sand on top.
- Add your substrate back to the coop- we use sand in the summer and wood shavings in the winter. The sand is wonderul to keep things clean, cool, and dry. The wood shavings are a great insulator for winter time, and it smells pretty nice- we use the shavings that are available in pet stores for hamsters/guinea pigs. Never cedar! We tend to use shavings for the nesting boxes year round.
Pretty simple, but it’s labor intensive, even with a sweet setup like our coop. I probably spend at least 2 hours cleaning when I follow this routine. However, knock on wood, we haven’t had any problems with mites, lice, fleas, or similar ilk in the years we’ve had chickens.