Your chicken coop permit is valid until Dec 31st every year, so in early December the coty starts mailing out notices to renew. It’s simple to fill out:
1.) Location of Building – place your address in this section
2.) Contractor/Applicant – fill out your contact info, like name, email, phone #
3.) Work to be Performed – write in “chicken coop renewal inspection”, or simply “chicken coop”
4.) Signature – don’t forget to sign it!
5.) Send it back in with your permit fee of $35, and the city will contact you to schedule a date/time for coop inspection.
I highlighted the areas to fill out in the pic above, if you have any questions contact the city clerks office, they’re happy to help!
Cleanliness is probably the most important and least sexy part of keeping backyard chickens.
When we started out on this road, one of the biggest complaints I heard was that chickens are dirty and their dirtiness will attract rats. This is partially true: left untended, a chicken coop can easily attract rodents who see the access to their food, water, and bedding as especially alluring. Additionally, chicken droppings are smelly en masse- an important distinction to make, given that the droppings are less odoriferous than dog poo when spread out (say, around your yard). Ben and I set out with cleanliness in mind when designing the coop, and it worked astoundingly well.
Things we considered in design:
1.) We had to be able to easily pull everything out, including bedding, from a standing position. Most of the coops for sale online were close to the ground, meaning we’d have to hunch over or kneel while pulling dirty bedding out- no fun.
2.) We had to be able to easily clean the run and under the elevated coop. Again, this meant we needed to have something tall enough that I could rake under it, and the run had to be a reasonable height for us to walk around in.
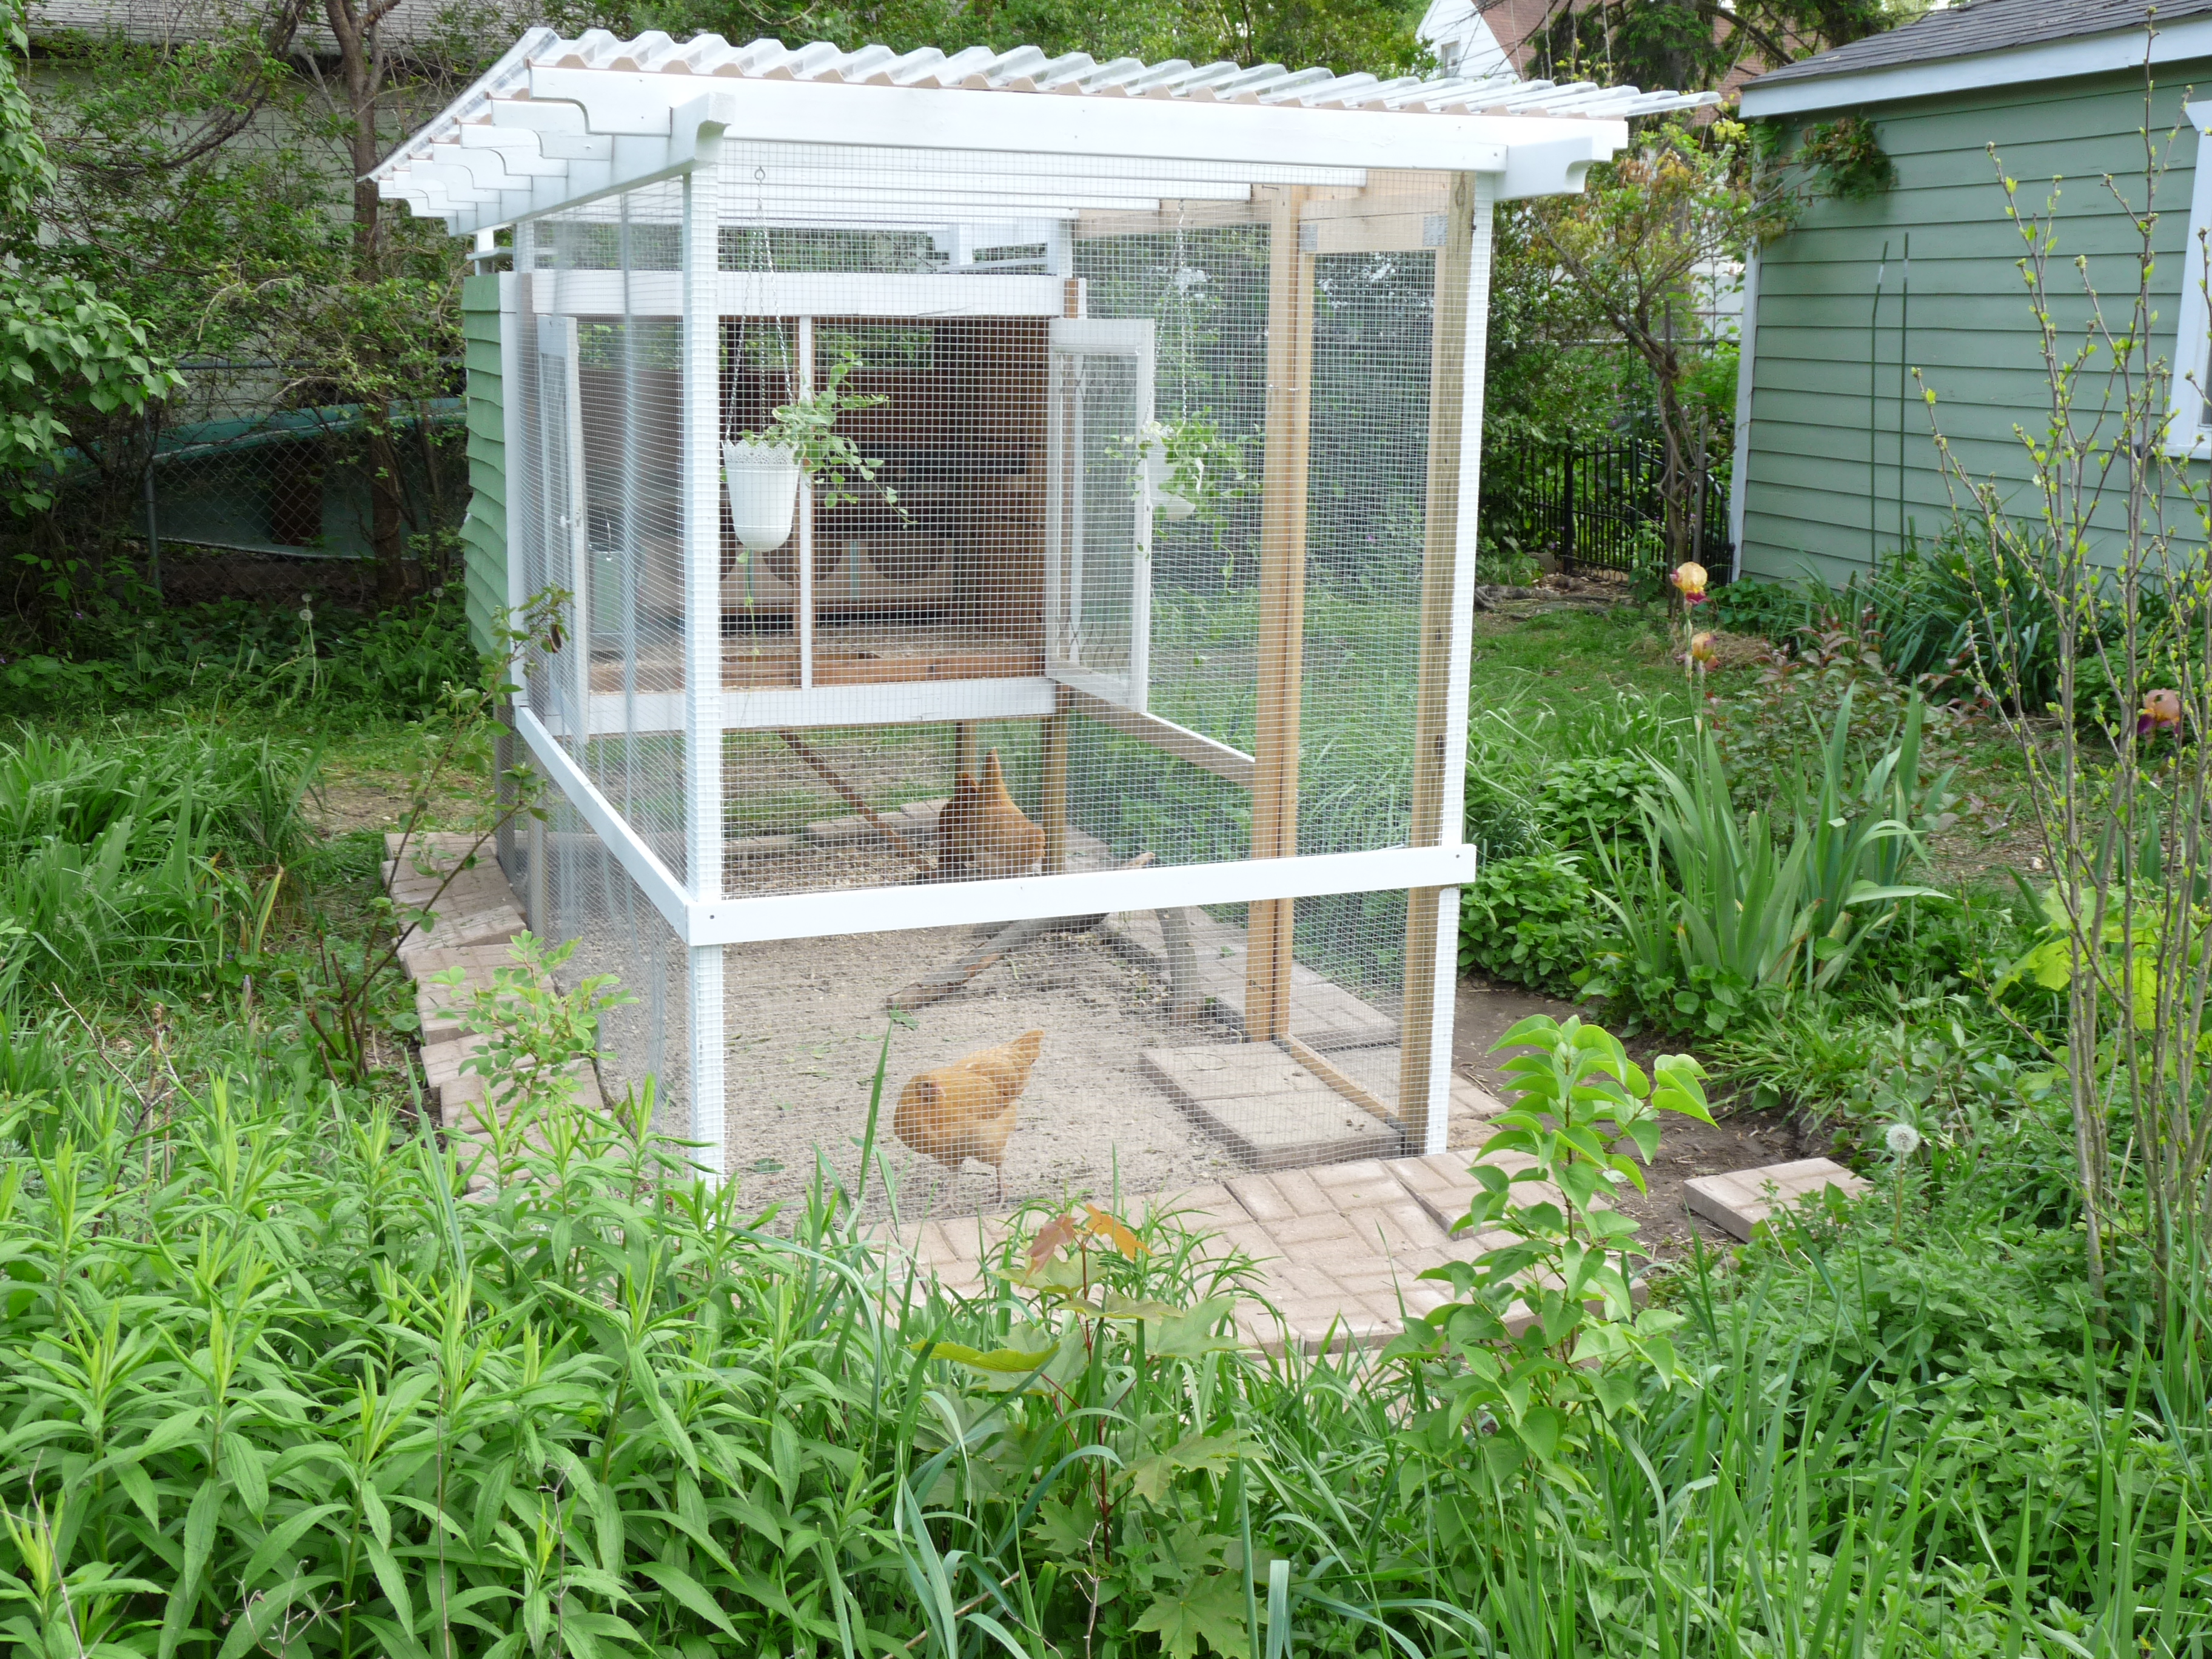
Finished easy-clean coop design: using large windows in the front meant it would be easy to pull everything out to clean, and the run is big enough to stand up straight in.
Chicken Coop Cleaning:
By nature, I’m not a clean freak. Not even close. However, I’m a worrier- and my worries lead me to looking into all the gnarly disease and parasites that a dirty coop can harbor. If left uncleaned, chickens can develop respiratory issues very quickly in a coop with poor ventilation and sanitation; basically, they’re breathing the ammonia from the waste, which damages their lungs. Then there’s feather mites, red mites, scaly leg mites, lice- the list goes on and on. The Chicken Chick has a pretty good post on how to identify poultry mites & lice; fingers crossed, we still haven’t had an issue with them yet, which again I attribute to sanitation procedures.
I clean the coop & run at least twice a year, once in the spring and once in the late fall/early winter after the hens have molted (if they molt before real winter sets in!). It gives me a chance to inspect everything in the coop, looking for damage to the structure and protections we have in place. On a daily basis, I rake out the coop, picking up the chicken’s waste and putting it into our composter.
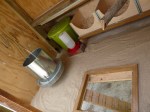
The big clean starts by removing nesting boxes, feed & watering stations. Anything that can some out easily, does.
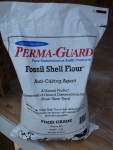
Pull everything out of the coop, removing all bedding and feed/water. Brush along the walls and crevices to pull any lingering dust/dirt out. Spray with a solution of 1/1 vinegar and water, paying attention to areas where waste might be caked on. Brush again, removing caked on waste. Wait for the coop to dry, then puff diatomaceous earth into crevices, on roost, inside nesting boxes.
Diatomaceous earth is great to puff into crevices in the coop to prevent mites and lice.
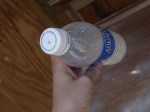
DIY diatomaceous earth puffer- an old water bottle with a hole punched in the cap.
Pay special attention to roosts, as this is where red mites could be lingering. I have since replaced the natural roost with a simple flat board.
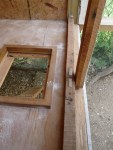
These bars in the front lift up and stay out of the way to make the coop easy to brush out.
Notice the bars lifted out of the way.
Add diatomaceous earth to the coop run. Probably about 1/2 cup.
Spread into run. I typically follow this with adding more sand to the run.
Steps:
Remove anything that isn’t nailed down.
Brush out coop, removing all bedding. Pay attention to corners and crevices to remove debris and dust.
Use a 1-1 solution of vinegar and water to spray on dried/caked waste and any debris that is lingering. Spray liberally and allow to soak in cases of stuck on dirt/waste.
Followup with brushing out the coop again, removing remaining waste. Repeat spraying if necessary. When done, allow coop to dry.
Use diatomaceous earth, puff it into crevices along the walls, on the roost, and into the nesting boxes. If you’ve never read about how diatomaceous earth can kill bugs, check out this write up on it.
Add 1/2 to 1 cup of diatomaceous earth to the coop run, spreading it along the surface. Add additional sand/tube sand on top.
Add your substrate back to the coop- we use sand in the summer and wood shavings in the winter. The sand is wonderul to keep things clean, cool, and dry. The wood shavings are a great insulator for winter time, and it smells pretty nice- we use the shavings that are available in pet stores for hamsters/guinea pigs. Never cedar! We tend to use shavings for the nesting boxes year round.
Pretty simple, but it’s labor intensive, even with a sweet setup like our coop. I probably spend at least 2 hours cleaning when I follow this routine. However, knock on wood, we haven’t had any problems with mites, lice, fleas, or similar ilk in the years we’ve had chickens.
The liftable bars keep the sand in the coop.
Sand is for summer time to keep things clean and cool, we use wood shavings in winter.
I prefer tube sand for the rougher texture, but play sand will work.
A chickeny beach house
The lip around the door in the floor keeps the substrate in place.
We no longer use a large feeder like this, and the water is kept outside the coop.
There’s a lot to consider in building your first chicken coop, and this infographic walks you through some major points. At the very end, I’ll discuss some of my major points for the best possible coop design.
There are some things I did right with my coop, and others I’d change if I did it all over again.
Things I did right on my coop:
1.) Lots of ventilation: in the summer when it’s hot, I have two doors on the front of the coop that can latch open, providing full coop ventilation. I also have a back window and roof vents with directional flaps to keep wind out of direct it in.
2.) Predator proof: my design was inspired by paranoia that something would get in and kill my chickens. I buried hardware cloth 2 ft underground and out, covered the edges of the run with heavy pavers to prevent digging, and covered the top of the run to protect from hawks.
3.) Covered run: I used polycarbonate sheeting to cover the run, which allows the chickens to run around in the rain without getting wet. Also, prevents mud, which combined with chicken poo produces a nasty, smelly, potentially dangerous mix.
4.) Nest box per bird: some people say it isn’t necessary, but I’ve seen all 3 hens pack into a box at the same time. I wouldn’t want them to have to queue up in line and wait.
5.) Easy to clean: this is the biggest one for me. I designed this so I wouldn’t have to stoop to clean, or climb inside, or shovel it out. Instead, I’m able to use a bucket and brush to sweep all the litter out, and I’ve used rubber liners for the floor that I can remove and hose down. All of this makes cleaning super quick and easy.
Things I’d change:
1.) Bigger: I’d make the run much, much bigger. Though chickens can take confinement very well, and they’ve got more space than some, I know they’d enjoy the extra room to roam.
2.) Elevation: I picked a low spot in my garden to place the coop, mainly because it was out of the way. Unfortunately, because it’s at a low spot, the run gets wet when snow melts in spring.
3.) Bad nesting box door: the nesting box door is heavy, has no way to stay up unless you’re holding it, and it collects water due to the design. That water then drains ever so slowly into the coop. I think this is a critical flaw and we’ll be changing it this year.
First and second year coop licenses/inspection approvals
Second year coop license! Coop license renewal went well, and the hens behaved themselves in front of the city inspector.
While the inspector was out, we showed him our water heater (a cookie tin with a light bulb in it), explained why we have plastic wrapped around the run (wind break during cold, snowy spells), and explained why the hens weren’t laying (not enough daylight hours).
While he was out, he mentioned that we were the first coop to fill out renewal papers and be inspected. In case any Ferndalians read this, just a reminder: your coop license expires Dec 31 every year, no matter when you got approved. The renewal process is very straight forward: fill out your packet of information just as you did when you originally registered, minus the coop drawings, and take it back to the city clerks office with your check for $35. Bingo, bammo, done deal. You can schedule your inspection at that time as well, which is what I did- I wanted it done and over with as soon as possible.
The inspector mentioned there are a few other homes in Ferndale now with registered coops… I’m really interested in contacting the other registered coop owners to see if they’d be interested in planning a coop tour in spring. Something informational, with handouts on chicken keeping at every coop- might be a nice way to get more people registered and on board with it.
As part of our ordinance, we had to submit a site map and structural drawing for the chicken coop. Ben put his engineering background to good use and put together these:
Site Map/ Site Plan
Click for full size version. Site map/site plan: shows property lines and positions of all permanent structures. Basically a copy of my “platt map”, which I received when I purchased my home- you can get a copy from the city offices. Obviously we had to add the location/dimensions of the coop.
Structural Drawing
Click for full size version. Structural drawing: shows the dimensions of the coop from overhead, the side, and the front. Also a detailed drawing of the footer we used, and materials listing. Everything must be drawing to scale.
Please be aware that everything must be to scale when submitting to the city of Ferndale, just like you’d have with a building plan for a home or garage. It’s not too difficult, but is certainly intimidating if you’ve never done it before.
Yesterday, the city inspector walked into the backyard saying “This should only take about 2 seconds, I’ve seen the paperwork you submitted”.
who wouldn’t approve this thing?
Basically, the inspection centered around the coop being structurally sound. He checked the roofing to make sure it was secure, and the fencing and nesting box door hinges. He asked what we’ll do in the winter, and I told him I’m firmly against heating the coop- the chickens I have will grow to be big girls, and they’ll essentially be wearing down coats. He seemed pleased with that, since there had been an incident several years ago involved a wire shorting out on a coop in Ferndale- my worst fear.
The permit expires on December 31st every year, so I’ll need to go into the city and schedule another inspection and pay my fee in early December. I figure I’ll just do it around the same time I renew my car registration.
The chickens aren’t very impressed with this latest turn of events, but they did run off with the building inspection sticker we received.
very exciting!if it’s in my hands, it might be food, right?see that beak? somebody snatched the approved sticker from my hand a second later.
After all is said and done, the chickens are happy, I’m happy, and my neighbors are happy. Everyone seems to like the coop, and they get a kick out of the girls antics- or lack thereof, since the ladies have been lounging a lot in their beachy coop.